Tables should be used to show tabular data to students, but in some cases are used to create layouts. By using tables to visually style content, we may be doing a disservice to users of assistive technology because the intent of the table is unclear.
In Canvas, creating accessible tables is very simple.
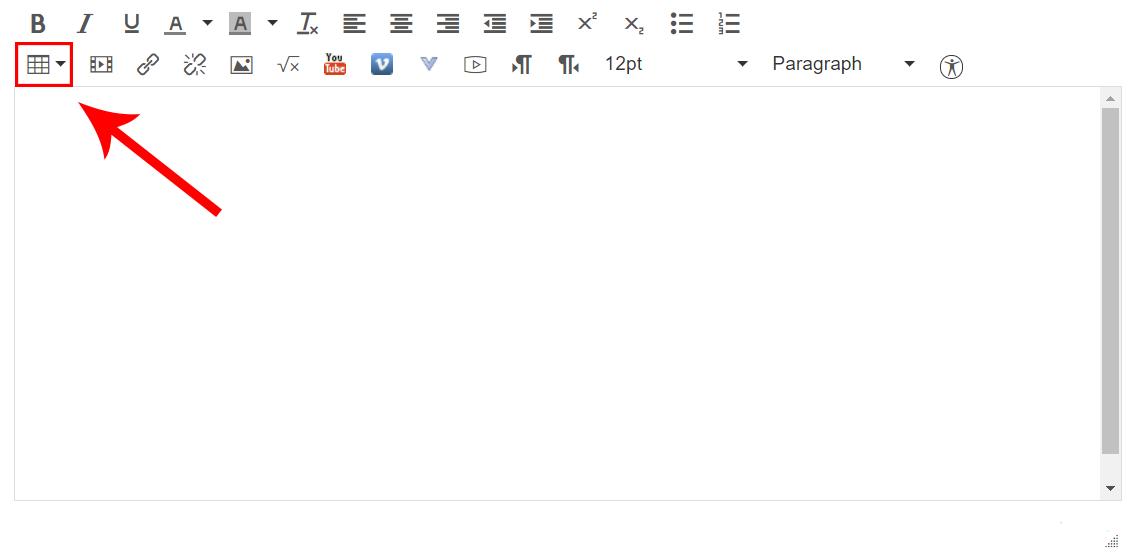
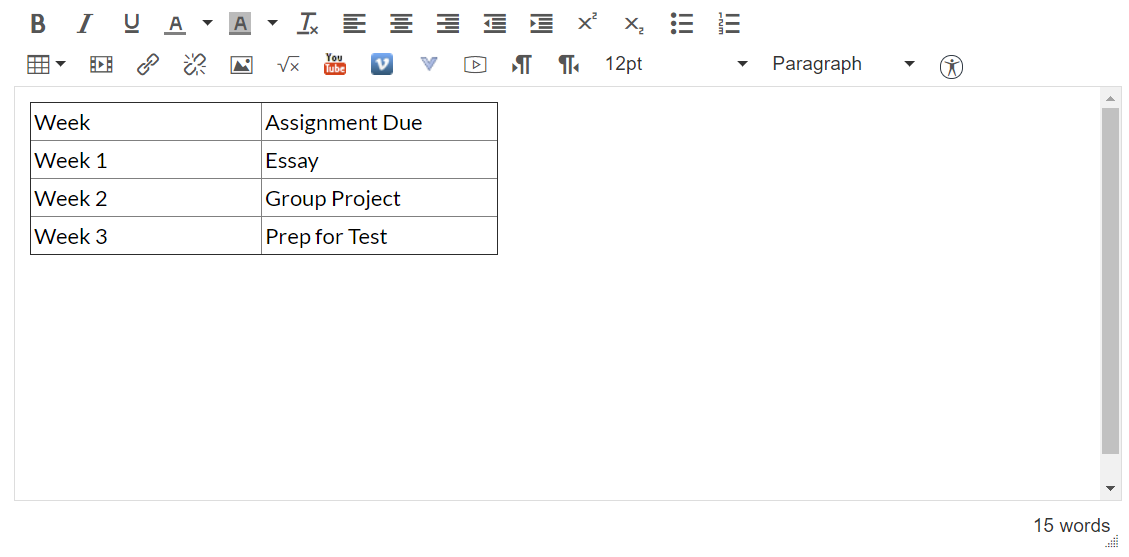
You can use the Rich Content Editor to build out the table in the correct dimensions and get all the content inserted into the cells.
Once you have completed creating your table, navigate to the Accessibility scanner icon, shown in the following image.
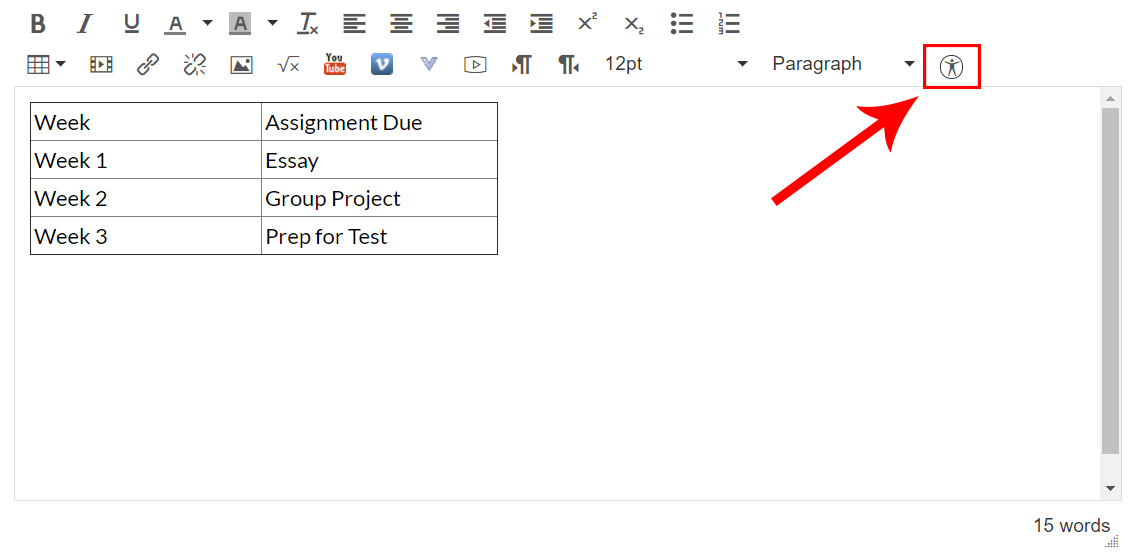
Once you have activated the Accessibility checker, a popup will visually appear on the right. For faculty using a screen reader, your keyboard focus will automatically be moved into the checker so that you can quickly complete the items.
Note: This example uses a blank Canvas page. If there is additional content on your page, the table issues may not appear first in the sequence of found issues.
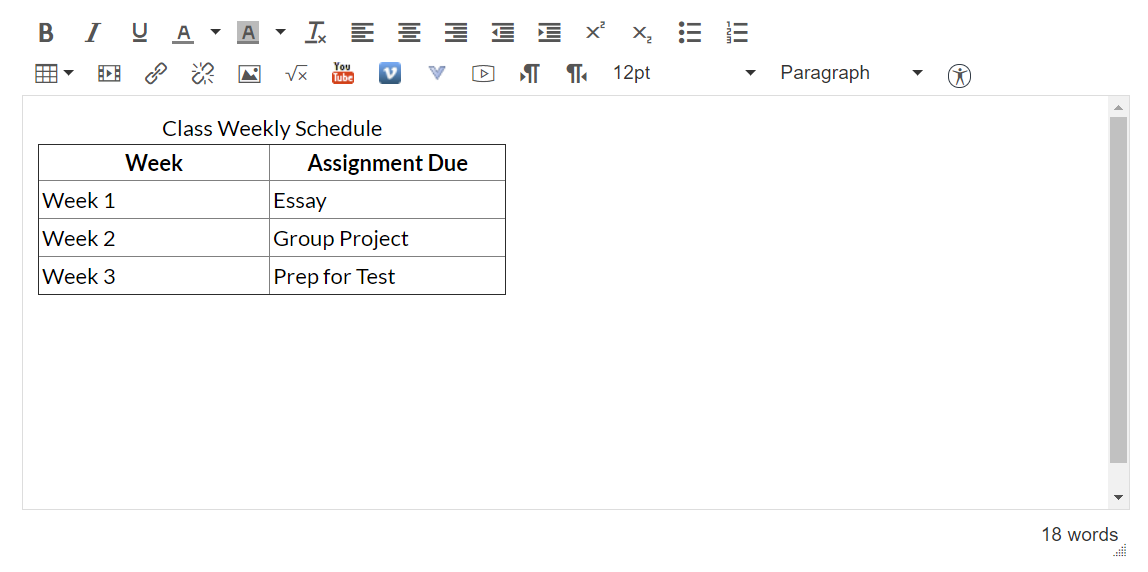
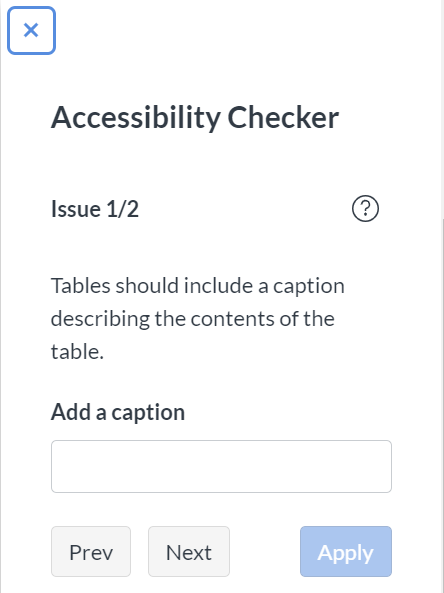
The first suggestion the Accessibility Checker will point out is adding a table caption. A table caption should be used to quickly and concisely describe the content of a table.
The second suggestion that the Accessibility Checker will find is the lack of table headers. A table header can be used to identify rows and/or columns that describe the content in that table.

Once you press the “Apply” button, the Accessibility Checker will be dismissed and you will see the styles applied to the table that you created.